THIS IS HOW WE DO IT…
Meeting you, the client, at the property is the start of this entire journey. This first meeting is vital to get a feel for your needs, wants, and desires in order to create your perfect outdoor living space.
Walking the property is always the important first step of this process so the designer can get a feel for the space, hear the ideas the client may have initially, and what they would like to have implemented into their landscape. This is also vital for getting feedback from the designer, as in all honesty, we are already imaging your space in our heads, and how wonderful the potential design could be.
This is an open honest consultation that will give you plenty of ideas and feedback of how your space can be utilized. We give you considerations that you probably hadn’t thought of, or a more practical and creative way things can be done. At this point it’s great that all parties sit and run through the ideas and go over the way to proceed forward with the design. In 95% of the cases, we will be able to give you a quote for the project at that time and even complete a contract for the project.
Stage 1
This is the measuring part of your property. We pride ourselves on the accuracy of our measuring as this is a vital component to the reality of the installation of your landscaping by the contractor or you the homeowner. All the contractors we work with are delighted to receive our designs. Not only for the comprehensive design layout that leaves no ambiguity for the bidding process, but because they know we are consistently accurate in the measuring department. Thorough site photos and videos will be taken to provide us with visual references of the property as we go through the design process. They are also great to provide us with the ‘Before’ photos so we can enjoy the dramatic change your property is about to go through! Of course, our favorite part is to come back at the end of installation to get the ‘After’ photos of your gorgeous, new outdoor living space!
Stage 2
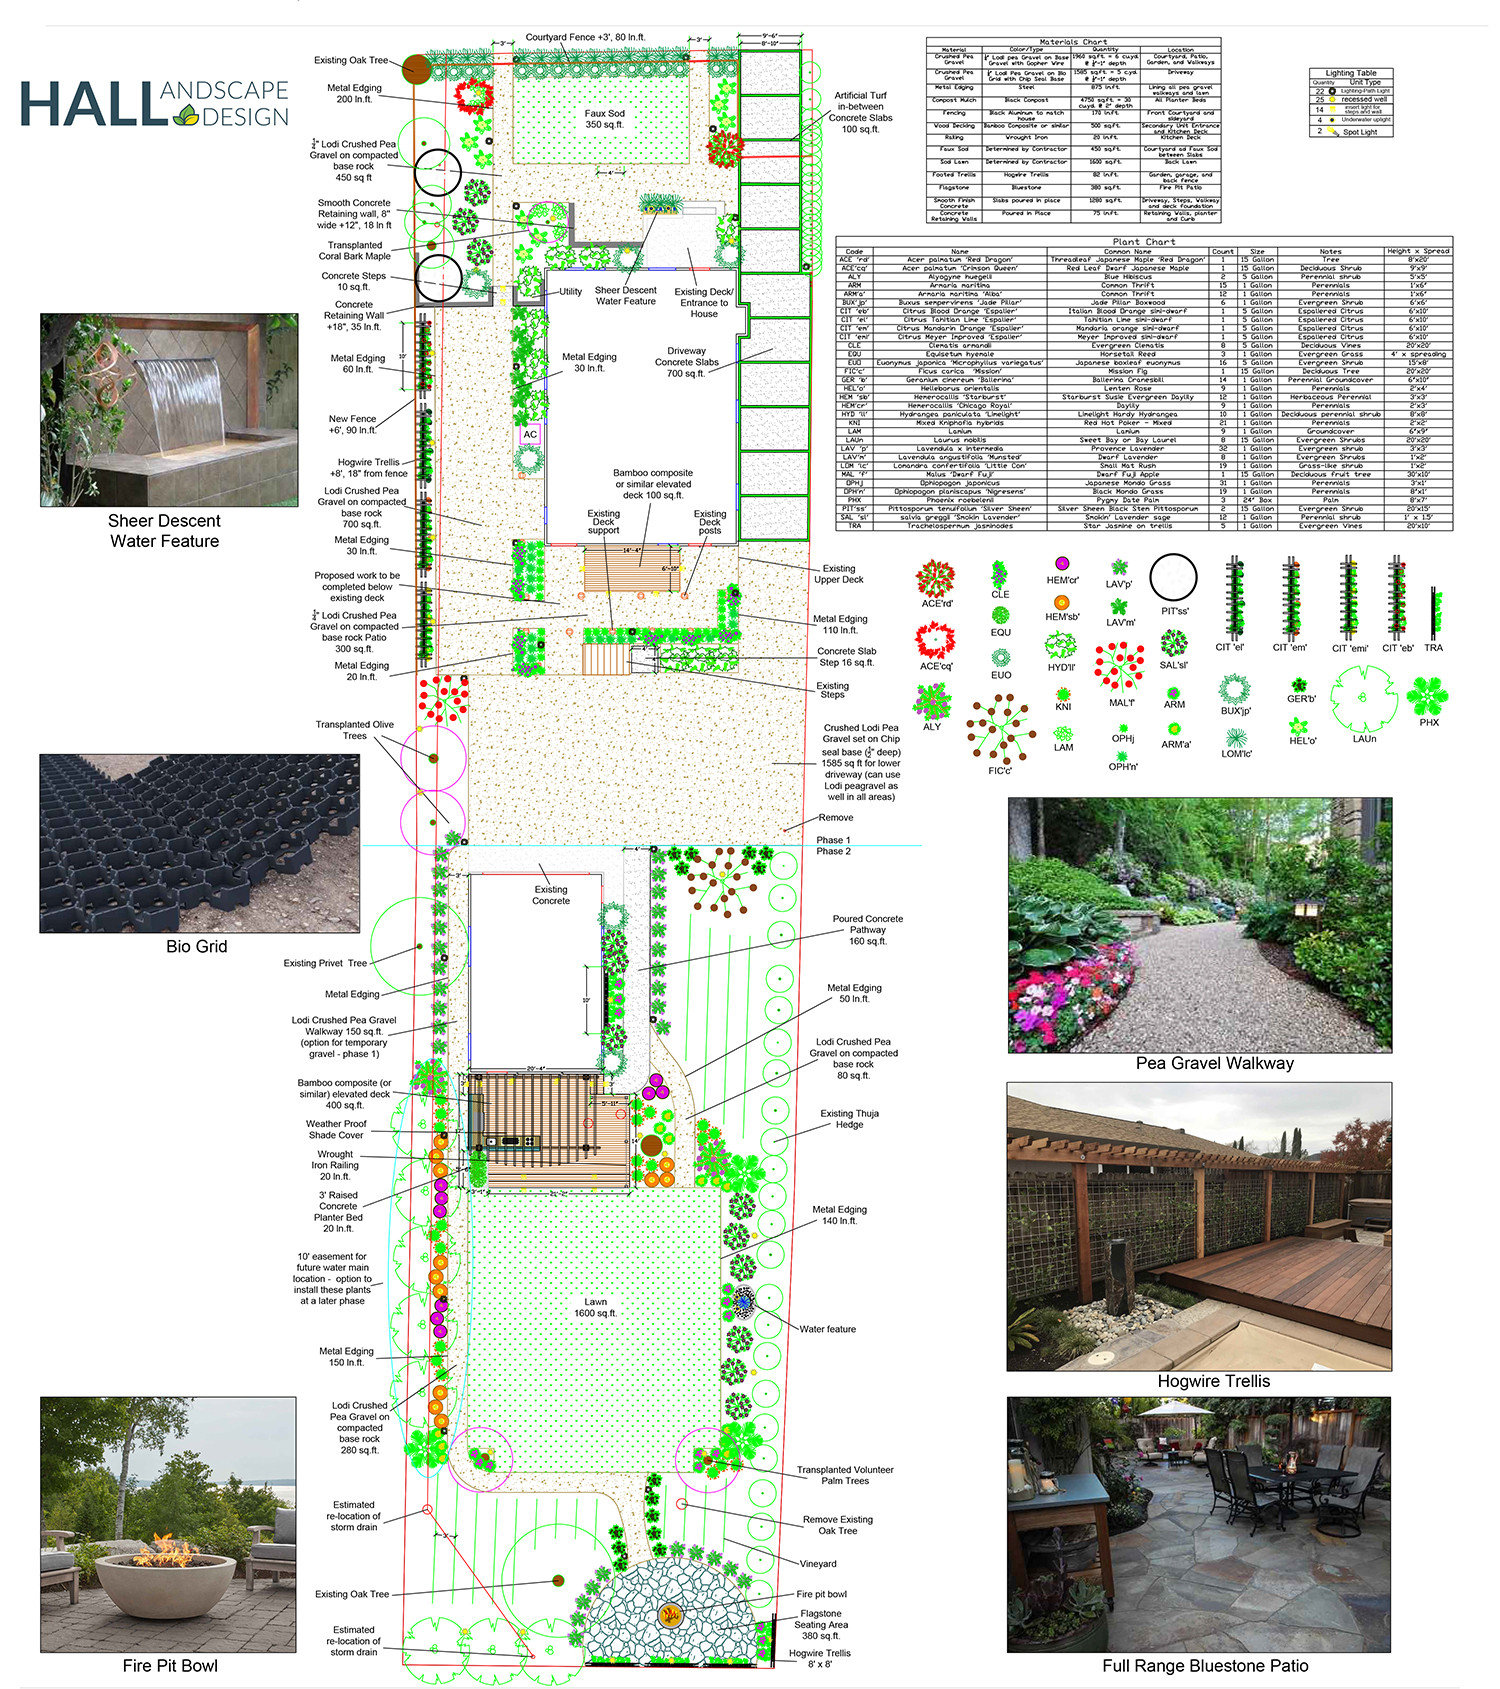
Stage 2 Preliminary Review follows the payment schedule as well. The preliminary design stage is where the fun begins! We are ready to show you the initial look at our skills. Now we get to unfurl (literally) the initial look at your new yard. This is the initial cumulation of all your ideas and ours put to paper (oh… and a digital version of course). This preliminary concept will show the entirety of your design area. It will include all hardscaping items and may also include the planting plan, and lighting schematic. Each designer’s presentation is different. It is just the beginning as we start to evolve it to the final concept.
This phase will include pictures of specific materials and structure concepts so you can truly see our vision a lot clearer. A lot of people see the concepts immediately in the plan and others need visual examples of what we’re designing… this is especially the case for plants, as not too many people know plants as we designers do! A plant folder will be provided along with a PDF (digital format) of the design for you to review the initial planting concepts.
Now remember, this is just the Preliminary Stage and the true starting point for the design. While going over the design schematic, both you and the designer will be able to make initial tweaks and changes to this initial layout. Once you see it put to paper the floodgate of ideas opens! After this first meeting the designer may, at your request, leave the initial concept with you so you can continue to study it at your leisure. At the follow up meeting the designer will return with the initial changes discussed at the first meeting. At this point the preliminary design will continue to evolve as we get it closer to the final concept. After the initial Preliminary meeting, it usually takes another follow up meeting or two to fine tune the design to the final concept …and then to get it ready for construction…
Stage 3
Now that we have gotten through the preliminary stage, it is time to present to you the final version of the plan. This includes a PDF and 2 full-size to-scale copies (usually 24″x36″) of the plan. Although conceptual, this final plan will have all the details included for the needs of your chosen contractor to provide you a bid.
An irrigation schematic is not included unless requested by the client. It is not generally needed by the contractor. This is only needed for new construction or commercial projects to meet MWELO requirements. Also, for an additional fee, we can prepare a 3D rendering of your project, which is the best way to see your final design visually.
If you would like to take advantage of our exceptional team of contractors we like to work with, we would love to submit your plans to them to get the bidding process underway. We would also be delighted to forward a PDF of your plans for any contractor that you would like to have bid on your project.
After this finalization of the design there are often things that come up that can include site conditions or budget restrictions. Never fear, we are available for you and your contractor to ensure the details are addressed.
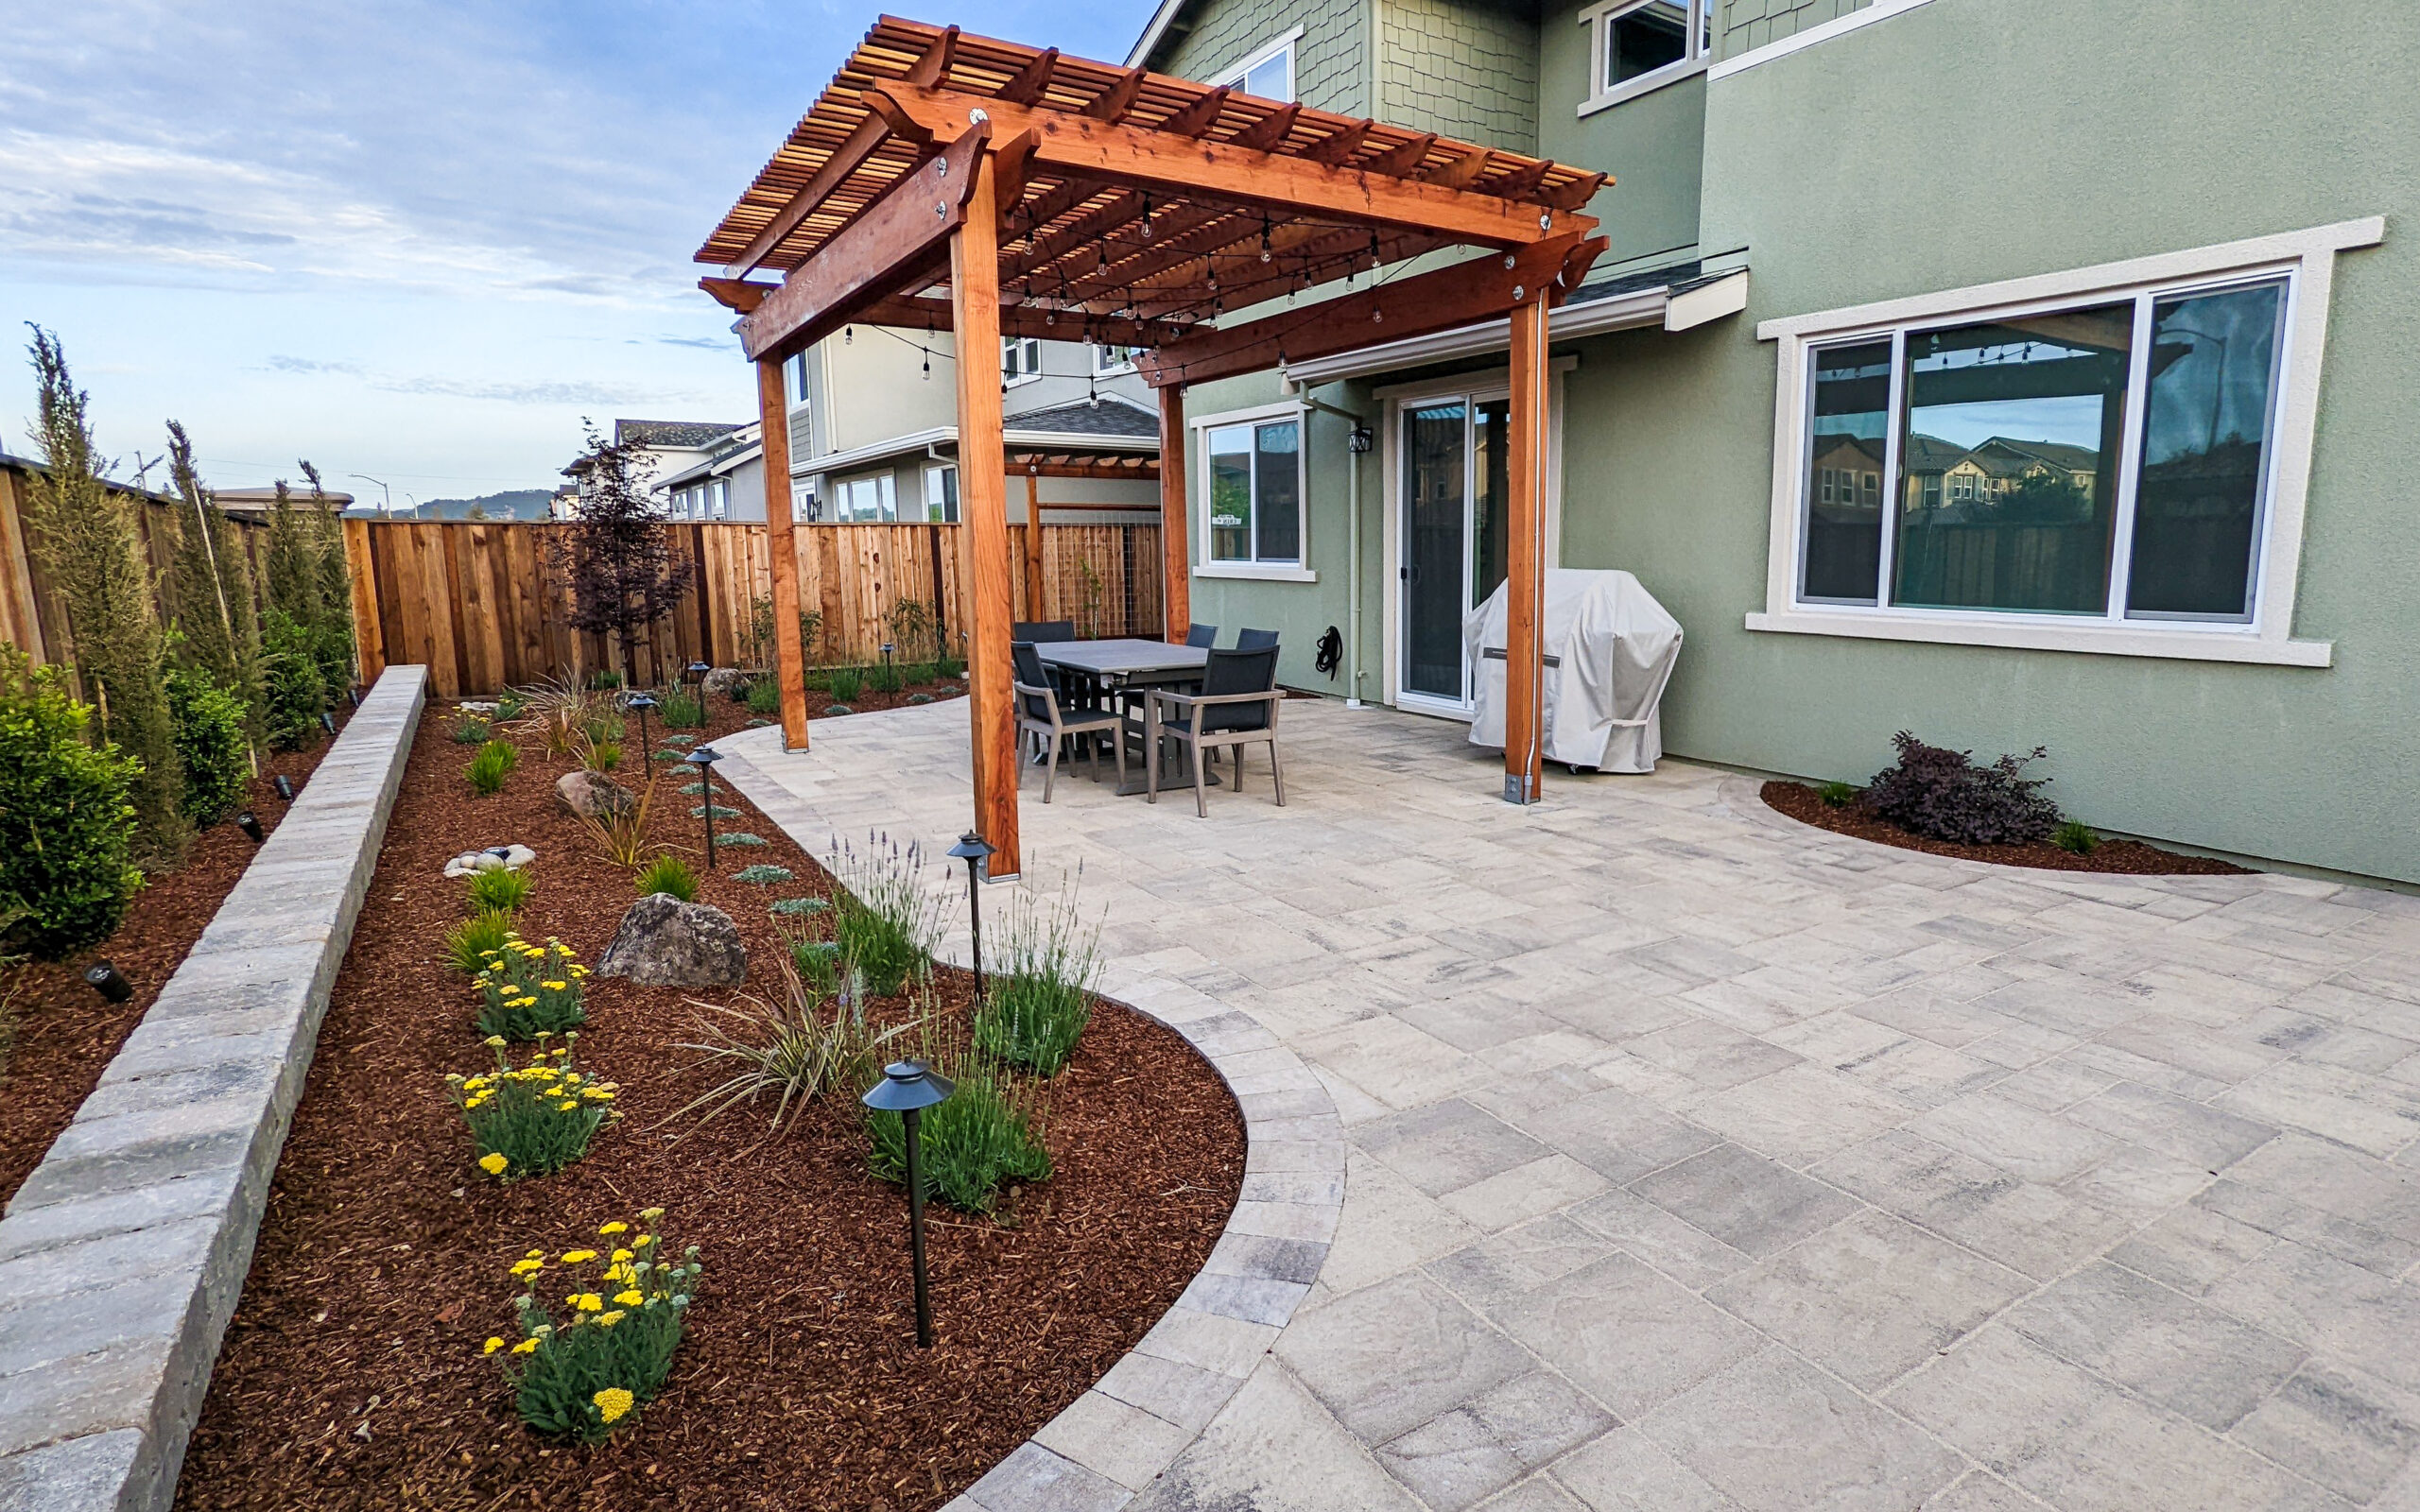

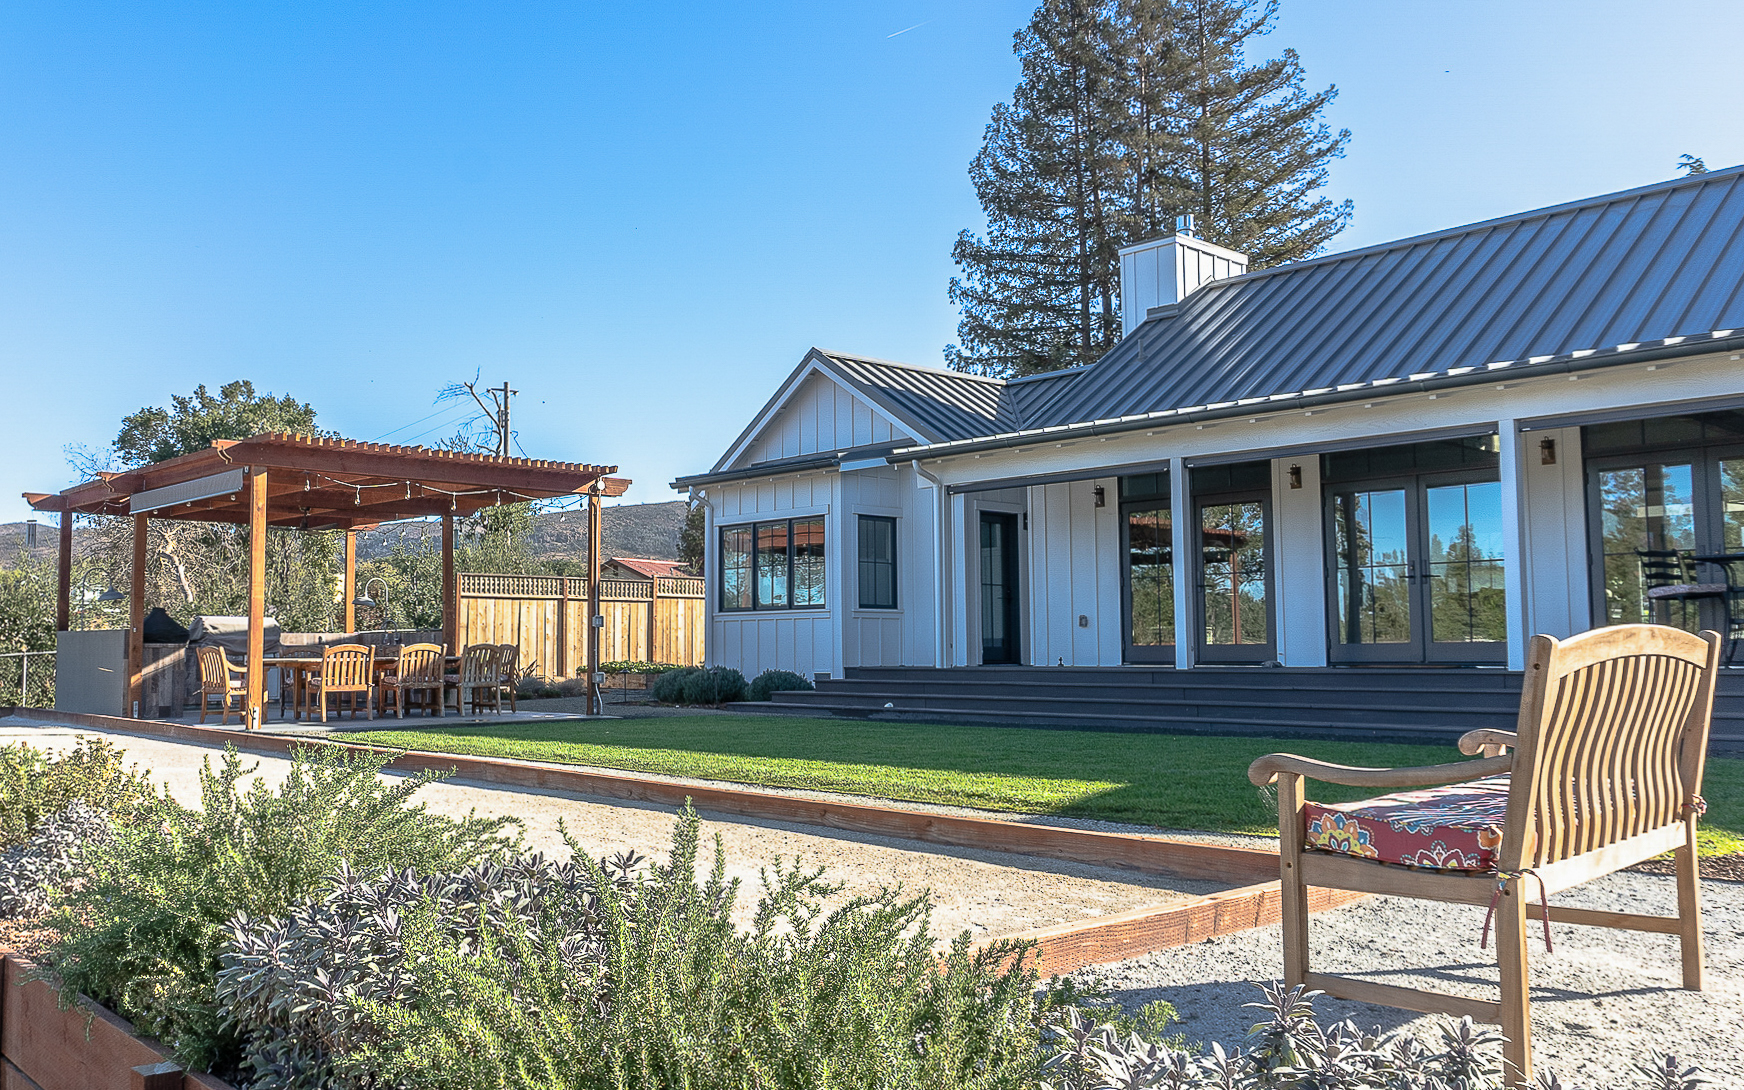
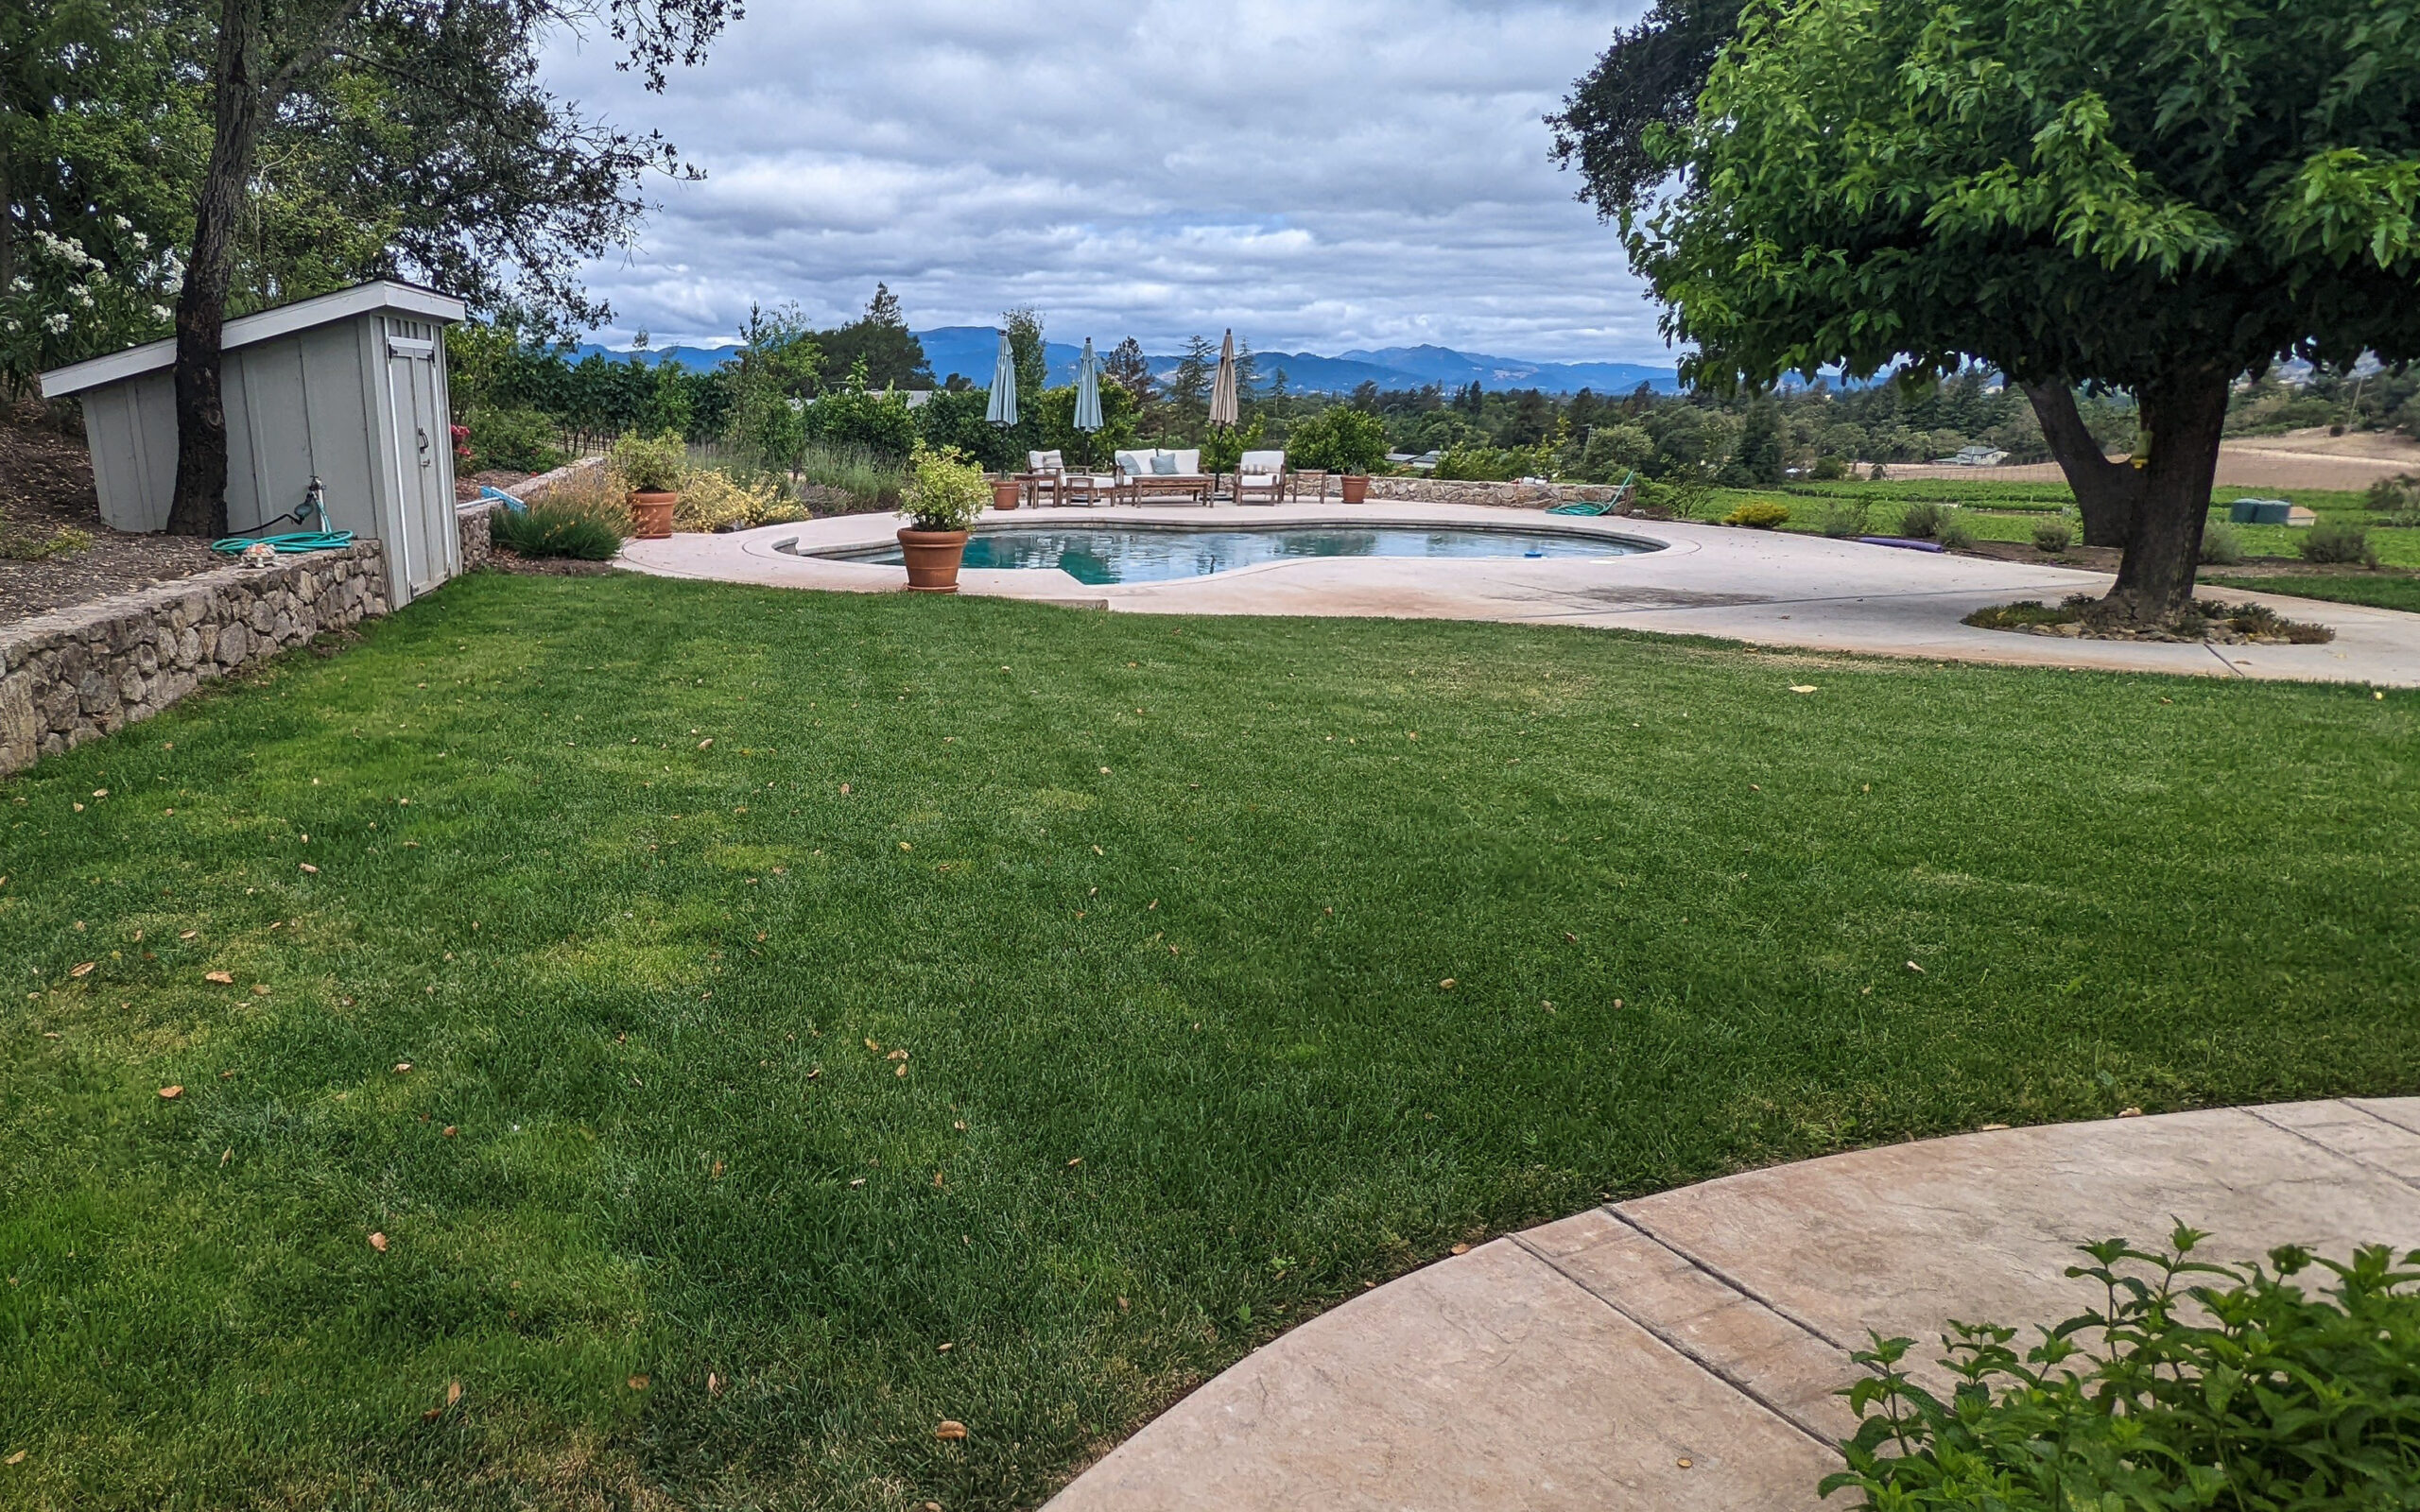
Sample Landscape Design
Contact Us
222 Soscol Avenue
Napa, CA 94559
Payment Options

@Ian-Hall-35

ian@halldesign.info
(add 3%)
ian@halldesign.info
Leave A Message
All contracts are to be official Hall Landscape Design contracts. If you have any questions, please contact the office.
